Notice
Recent Posts
Recent Comments
Link
| 일 | 월 | 화 | 수 | 목 | 금 | 토 |
|---|---|---|---|---|---|---|
| 1 | ||||||
| 2 | 3 | 4 | 5 | 6 | 7 | 8 |
| 9 | 10 | 11 | 12 | 13 | 14 | 15 |
| 16 | 17 | 18 | 19 | 20 | 21 | 22 |
| 23 | 24 | 25 | 26 | 27 | 28 | 29 |
| 30 |
Tags
- Observer
- 글또
- calendar
- SWIFT
- singleton
- escaping
- self
- segue
- error
- Animation
- 고차함수
- class
- Refresh
- array
- viewlifecycle
- struct
- http
- list
- PushNotification
- 화면전환
- uikit
- apns
- ScrollView
- Switch
- NotificationCenter
- CoreImage
- mvvm
- IOS
- SWIFTUI
- Git
Archives
- Today
- Total
seong_hye, the developer
Swift) Alert vs Action Sheet 본문
📘 Swift: Alert와 Action Sheet
앱을 사용하다보면 사용자에게 메시지를 전달하거나 선택지를 받아야하는 경우가 생기죠
이 때 사용할 수 있는 alert와 action Sheet에 대해서 한번 알아보려 해요
🔹 Alert에 대하여
Alert(알림창)은 사용자에게 메시지를 전달하거나, 확인/취소와 같은 간단한 선택지를 제공하는 UI요소
SwiftUI와 UIKit 에서 만드는 방식이 다름
🔍 SwiftUI에서 Alert 사용법
import SwiftUI

struct ContentView: View {
	@State private var showAlert = false

    var body: some View {
		VStack {
			Button("알림창 띄우기") {
    			showAlert = true
    		}
		}
         // 버튼 하나만 있는 경우
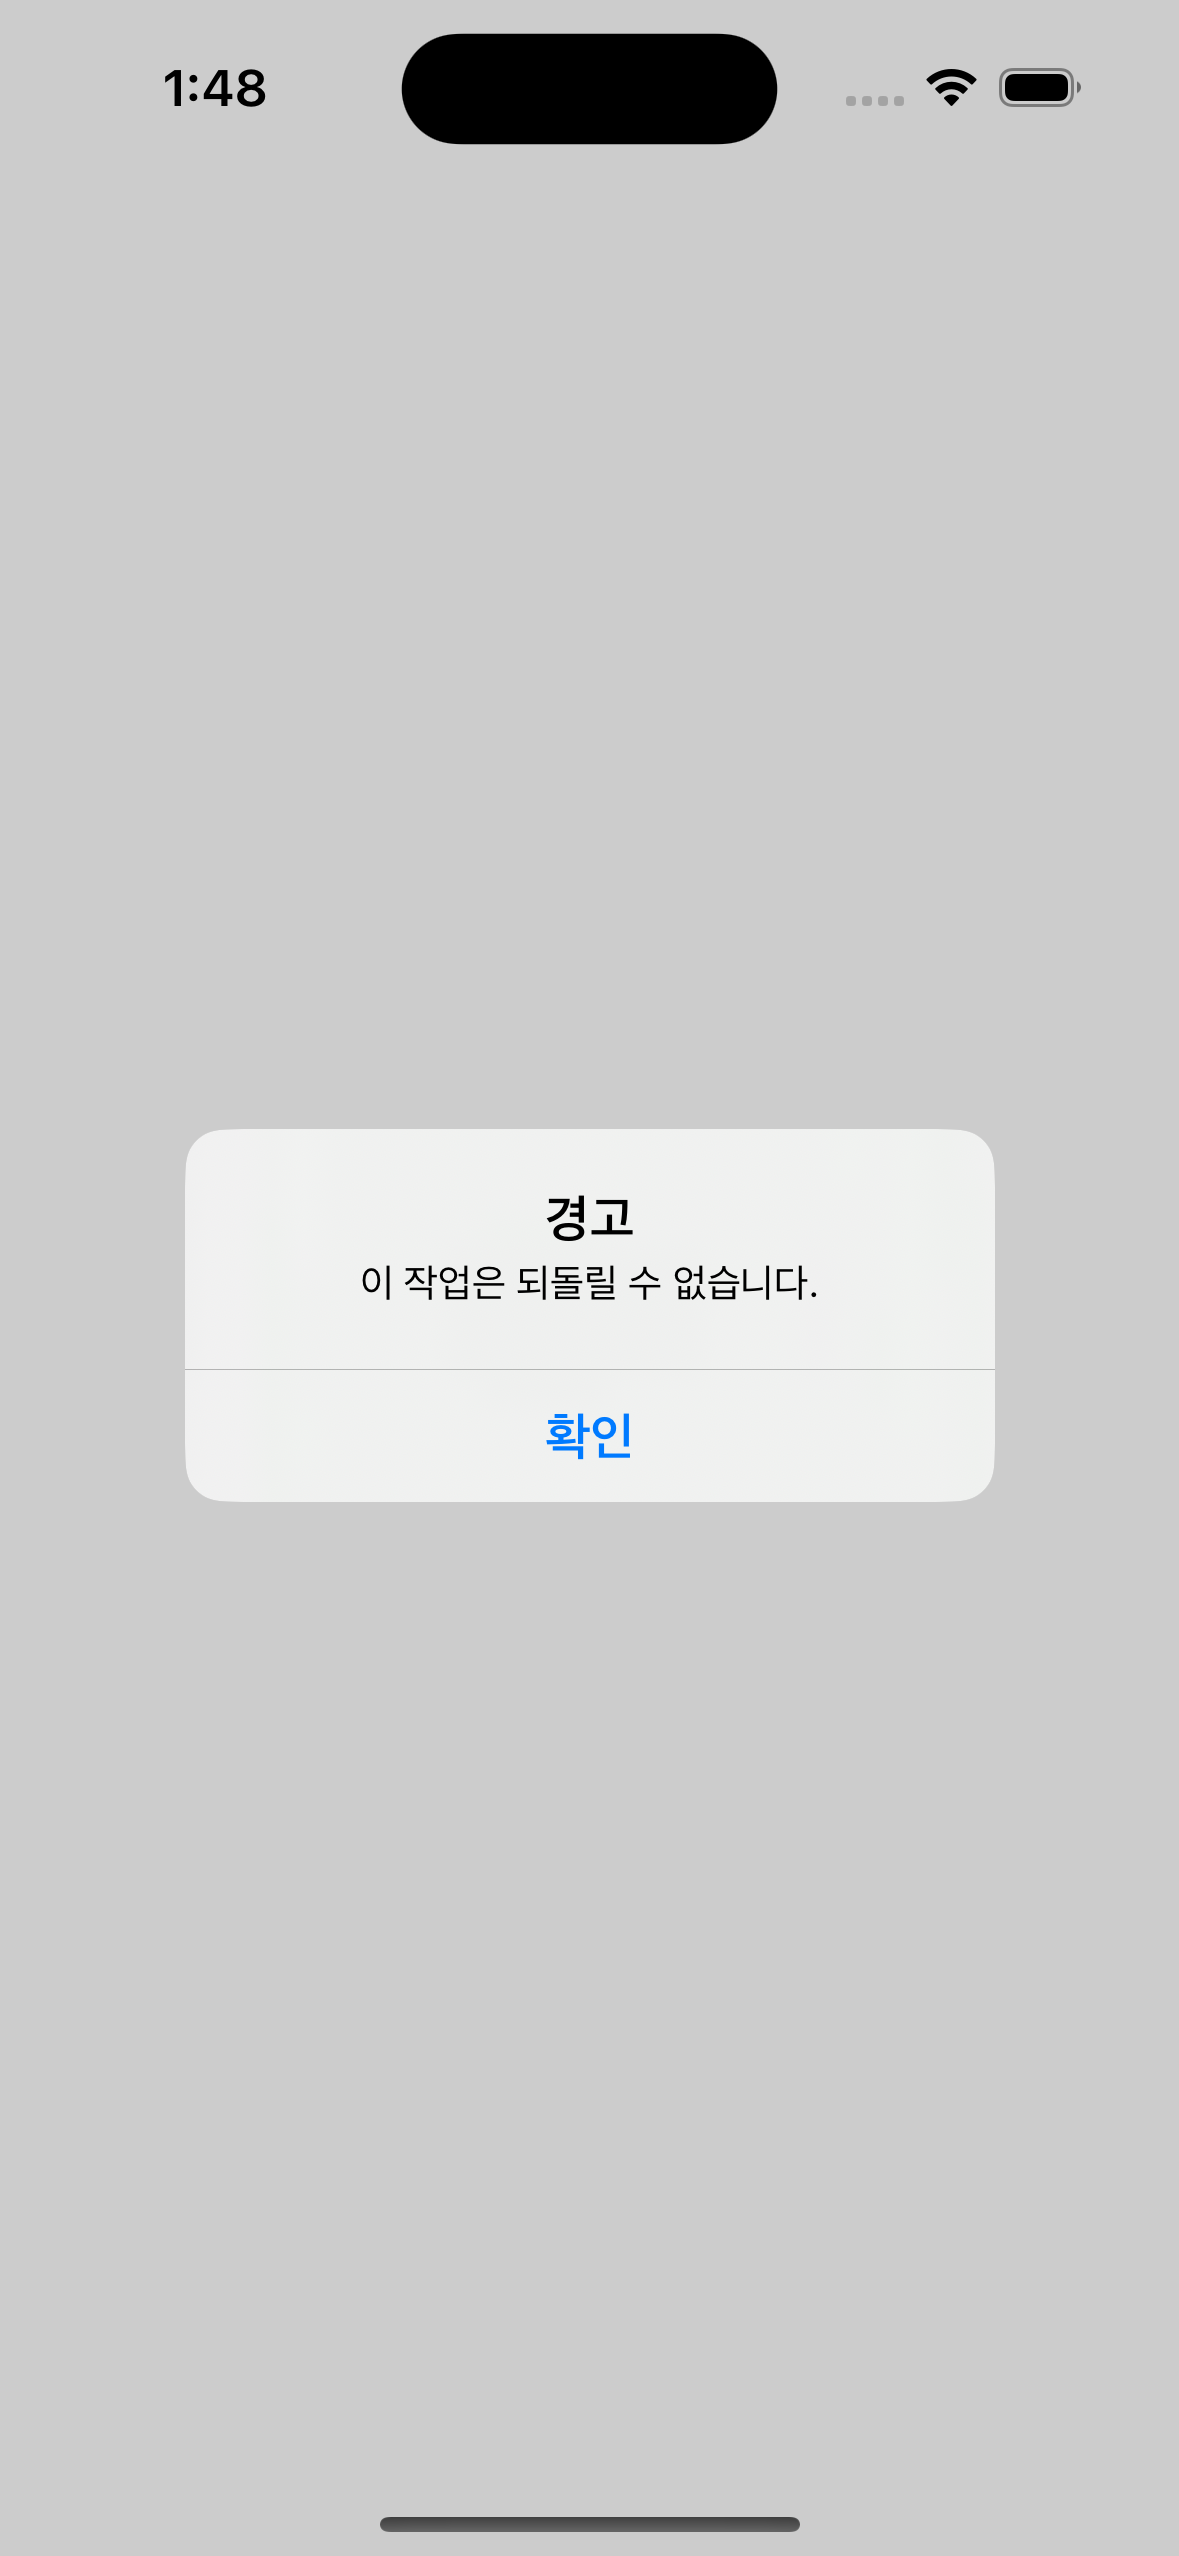
		.alert("경고", isPresented: $showAlert) {
			Button("확인", role: .cancel) {}
		} message : {
			Text("이 작업은 되돌릴 수 없습니다.")
		}
		 // 버튼 두개 있는 경우
		.alert("경고", isPresented: $showAlert) {
			Button("삭제", role: .destructive) {
    			// 삭제 로직
    		}
            Button("취소", role: .cancel) {}
        }
    }
}
➡️ role : 버튼이 어떤 역할을 하는지 시스템에 알려주는 값
| 역할(role) | 설명 |
| .cancle | 취소버튼, 자동으로 왼쪽 또는 아래로 배치되며 강조되지 않음 |
| .destructive | 파괴적인 행동에 사용되며 빨간색으로 표시됨 |
| .none | 일반 버튼, 특별한 스타일 없이 기본값으로 처리됨 |
🔍 UIKit에서 Alert 사용법
import UIKit

class ViewController: UIViewController {
	override func viewDidroad() {
		let alert = UIAlertController(title: "경고", message: "이 작업은 되돌릴 수 없습니다.", preferredStyle: .alert)

		alert.addAction(UIAlertAction(title: "확인", style: .default, handler: nil))
		alert.addAction(UIAlertAction(title: "취소", style: .cancel, handler: nil))

		present(alert, animated: true, completion: nil)
	}
}


🔹 ActionSheet 에 대하여
사용자에게 여러 선택지(액션)를 제공하는 하단 팝업 UI
하지만 SwiftUI에서는 ActionSheet는 더 이상 직접 사용하지 않고, 대신 confrimationDialog를 사용
📌 confirmationDialog 설명
SwiftUI에서 Action Sheet를 만드는 Modifier
이전의 ActionSheet를 대체하며 iOS 15이상에서 사용 가능함
🔍 SwiftUI에서 confirmationDialog (iOS 15+) 사용법
import SwiftUI

struct ContentView: View {
	@State private var showSheet = false

    var body: some View {
    	VStack {
        	Button("옵션 보기") {
            	showSheet = true
            }
        }
        .confirmationDialog("작업 선택", isPresented: $showSheet, titleVisibility: .visible) {
        	Button("삭제", role: .destructive) {
            	print("삭제됨")
            }
            Button("편집") {
            	print("편집 실행")
            }
            Button("취소", role: .cancel) {}
        } message: {
        	Text("이 항목에 대해 어떤 작업을 하시겠습니까?")
        }
    }
}
🔍 UIKit에서 Action Sheet 사용법
➡️preferredStyle을 .actionSheet로 바꾸면 사용할 수 있음
import UIKit

class ViewController: UIViewController {
	override func viewDidroad() {
		let alert = UIAlertController(title: "경고", message: "이 작업은 되돌릴 수 없습니다.", preferredStyle: .actionSheet)

		alert.addAction(UIAlertAction(title: "확인", style: .default, handler: nil))
		alert.addAction(UIAlertAction(title: "취소", style: .cancel, handler: nil))

		present(alert, animated: true, completion: nil)
	}
}
🔹 Alert vs ActionSheet 차이
| 항목 | Alert | Action Sheet (confirmationDialog) |
| UI 위치 | 중앙에 뜸 | 화면 아래에서 올라옴 |
| 용도 | 경고, 안내, 확인 요청 | 여러 선택지 제공 |
| 버튼 개수 | 보통 1 ~ 2개 | 여러 개 (3 ~ 5개) 가능 |
| SwiftUI 구문 | .alert() | .confirmationDialog() |
'IOS' 카테고리의 다른 글
| Swift) 문법 정리 - self vs Self (0) | 2022.07.19 |
|---|---|
| Swift) 문법 정리 - @escaping (0) | 2022.07.19 |
| Swift) AutoLayout vs Frame (0) | 2022.07.19 |
| Swift) 문법 정리 - guard문 (0) | 2022.07.19 |
| Swift) 문법 정리 - inout 키워드 (0) | 2022.07.19 |
Comments


